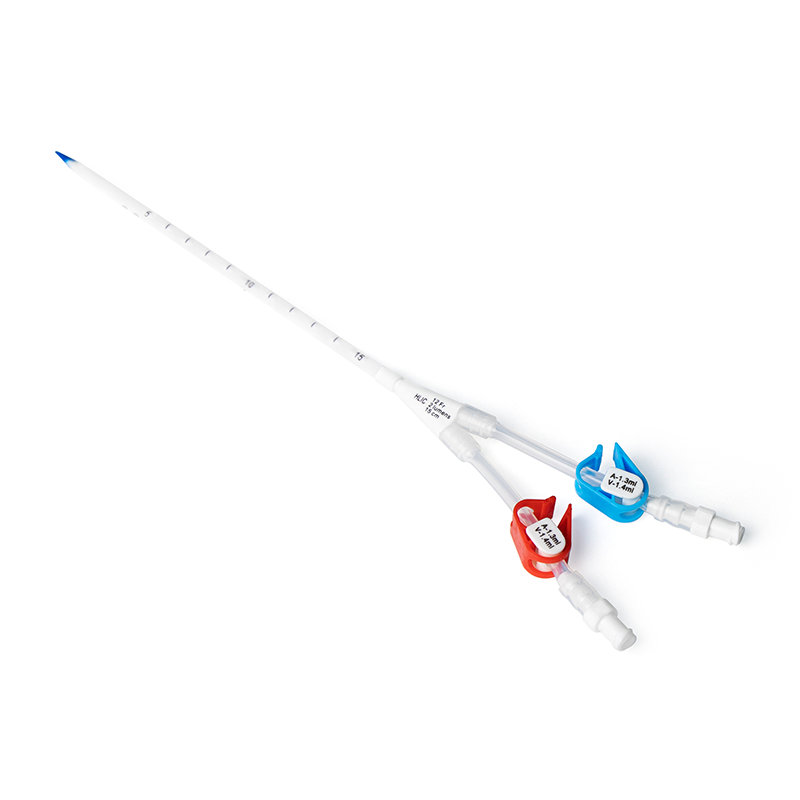
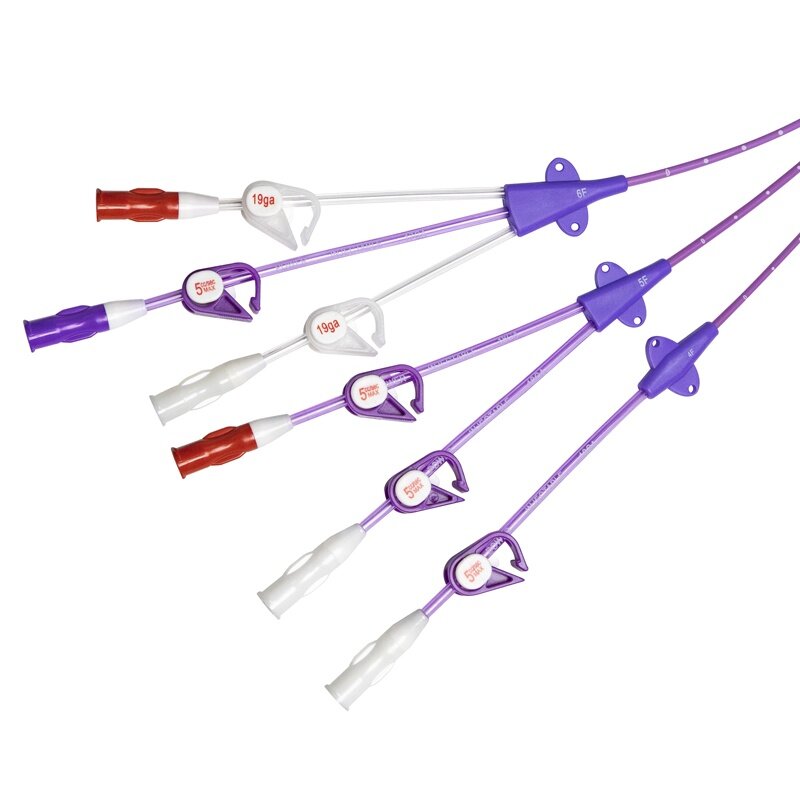
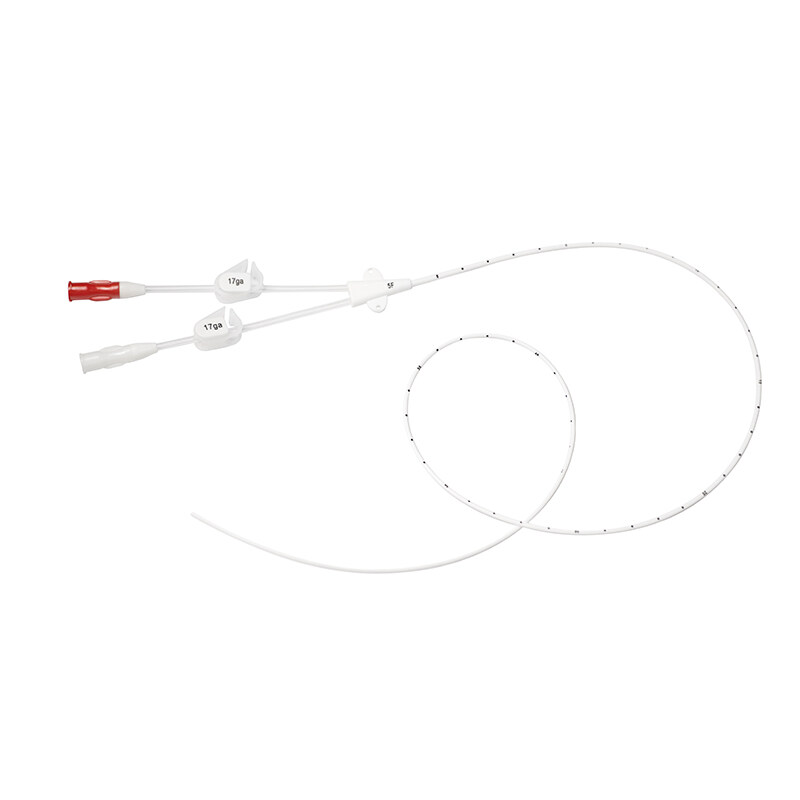
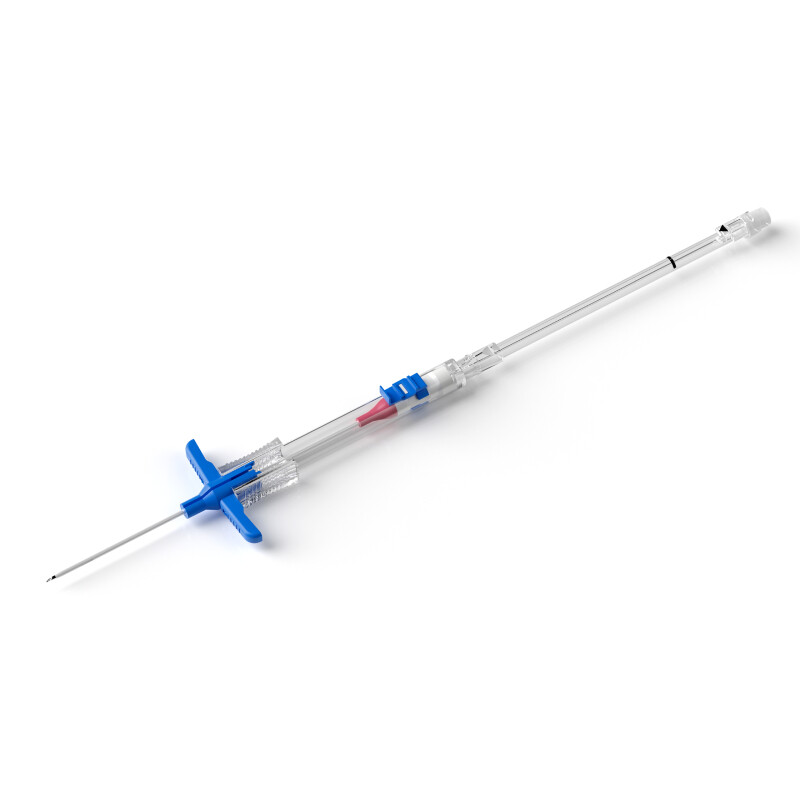
The procedure of placing Mini Midline that with guidewire
Washing Hands with Running Water Using the Seven-Step Handwashing Technique
Preparation
The following items need to be prepared: a smartphone or tablet; a wireless ultrasound probe; a Mini Midline catheter set; a puncture kit; a 20 ml syringe; 100 ml of saline; 2% chlorhexidine alcohol skin disinfectant; a treatment towel, tourniquet, tape measure, and marker.
1.Communicate with the patient, verify the patient's bed number, name, and wristband or bed card.
2.Inform the patient about the purpose of catheter placement and the precautions to be taken.
3.Obtain cooperation and consent from the patient.
4.Assess the blood vessels with wireless ultrasound probe. The puncture point should be selected in the middle of the upper arm and marked with a marker.
5.Take a measurement of each arm's circumference 10 cm above the elbow.
6.Apply the seven-step handwashing routine to effectively disinfect your hands.
Procedure
- Take out the absorbent pad from the puncture kit, open it, and lay it under the arm. Place sterile goods there.
- Put on sterile mitts.
- Add 2% of an alcohol-based chlorhexidine skin disinfectant.
- Apply a 2% chlorhexidine alcohol disinfectant three times to the opposite location and any area that is more than 20 cm up and down to disinfect.
- Using a cotton ball soaked in chlorhexidine alcohol, wipe the gloves.
- The first step involves placing sterile treatment towels beneath the arms, followed by sterile big sheets and hole towels.
- taking off the gloves, wash your hands and put on another set of sterile gloves.
- Examine the puncture needle, reposition the guidewire and catheter, and make sure the catheter is working properly before opening the tiny midline catheter kit.
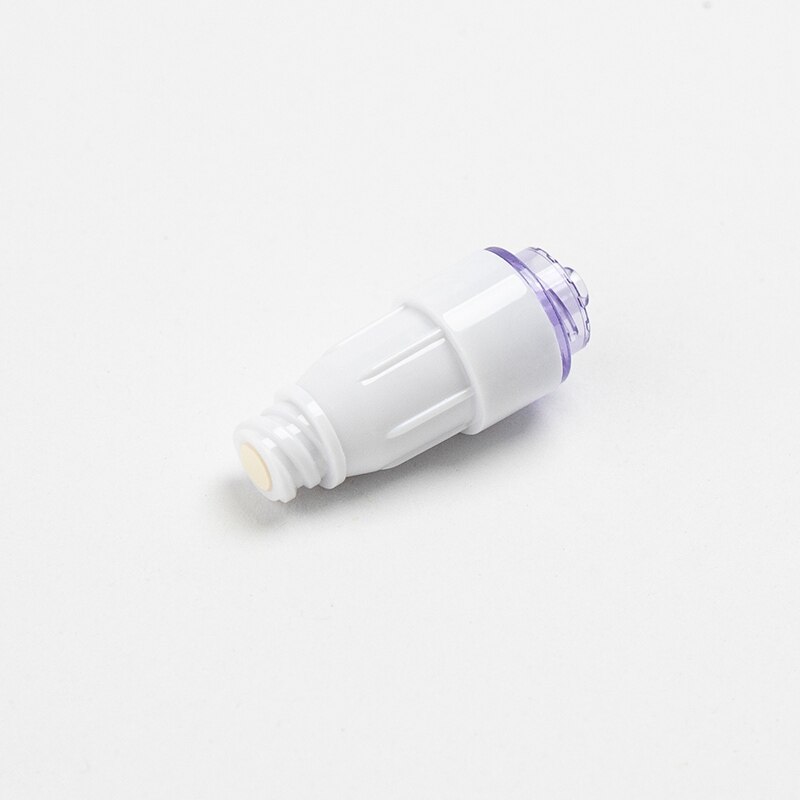
- Place the catheter base into the slot, then attach and flush the extension tube before attaching and flushing the needle-free connector.
- Put the wireless probe and your phone or tablet in a sterile sleeve after applying couplant to them.
窗体顶端
窗体底端
1.Shifting the Kit to Beside the Bed
2.After applying a tourniquet, tell the patient to clench their fist.
3.Verify that the catheter location and needle bevel are correct.
4.hHold the guiding rail with your right thumb and middle finger, and support the tearing base with your index finger.
5.Arrange the phone's screen so that it faces your eyes.
6.Perform a venipuncture under wireless ultrasound guidance after dipping the ultrasound probe into a tiny amount of saline.
7.Bright dots can be observed inside the vein and a strong echo will be detected on the ultrasonography once the needle has entered the blood vessel.
8.Once the blood starts to flow again, take out the ultrasound probe, slide the guidewire slightly, and twist the catheter hub's locking mechanism to release it.
9.Give the patient instructions to relax their hand and remove the tourniquet.
10.After carefully inserting the catheter into the vein, extract the needle and guidewire.
11.Attach the extension tube, extract blood, and use a pulsed approach to flush the catheter with at least 10ml of saline.
12.Fasten the catheter clamp closed. Tighten the infusion connector, use a pulsed method to flush the catheter with saline,
13.Using positive pressure, remove the syringe and close the catheter clamp.
14.Take out the catheter base pusher and remove the tearable base by tearing it apart. Put the fixing wing in place.
15.Remove the aperture drape sterilely and apply a translucent dressing that is not taut.
16.·Tape in the shape of a butterfly and reinforce with two more pieces.
17.Mark the date of catheter insertion, wrap, and firmly fasten the infusion connector.
19.Wash your hands, sort the trash, and arrange the supplies.
20.Complete the catheter placement record and elucidate the necessary safety measures.
Indications for Mini Midline Catheter
1. A period of infusion exceeding a week.
2. Individuals who exhibit restlessness or have easily removable indwelling needles (such as anxious, delirious, confused, or playful youngsters).
3. Platelets and stem cells are collected via plasma exchange and apheresis.
4. Patients in need of large-volume, fast-acting hydration or blood replacement.
5. Patients in critical condition who require a new catheter following a central venous catheter infection. CVC and PICC can be utilized after the infection is under control and the body temperature has stabilized, at which point the Mini Midline can be used indefinitely.
Contraindications for Mini Midline Catheter
1. Not suitable for hemodynamic tracking.
2. It is not possible to inject medications that are too acidic (pH < 5) or alkaline (pH > 9).
3. Hypertonic medications (osmolarity more than 800 mOsm/L) cannot be infused.
4. Irritating medications or foaming agents—that is, medications that could harm endothelium cells—cannot be infused.
Advantages of the Mini Midline Catheter
1. Bridges the time between PICC (1–12 months) and indwelling needles (3-5 days).
2. Good stability and reduced likelihood of dislodging. (Indwelling needles implanted ≤3 cm provide significantly less stability than the catheter, which is inserted 6–8 cm).
3. Quick flow rate, appropriate for patients who require quick blood or fluid replacement.
4. Saves time in emergency situations by not requiring X-ray positioning prior to usage.
5. The totally enclosed Seldinger design lowers the risk of infection and contamination. It is a creative and practical design.

